Few things can kill the curb appeal of your home like a damaged and dilapidated old fence. Your fence is the first thing people see on your property, so it’s important to put your best foot forward with a quality fence. Replacing your old fence can be a hassle, but it’s a perfectly manageable DIY home project if you plan effectively. Here are a few tips for replacing your old fence as hassle-free as possible.
Get the Necessary Tools
You can’t complete any DIY project without assembling the proper tools. There are few things as frustrating when completing a home improvement project than having to deal with incorrect tools and damaging your project or having to wait to work on a half-finished project because you don’t have the right equipment . To complete the process of replacing your fence, you’re going to need a hammer, shovel, screwdrivers, a mallet, nails, and screws. Be sure to assemble your tools before starting to ensure that you can finish what you begin.
Decide What Kind of Fence You Want
You might be shocked just how many different kinds of fences are available for your home . You need to consider the safety, strength, longevity, maintenance, and appearance of your fencing options to decide what is the right choice for you. For instance, a chain link may be great if you have dogs and want to grow ivy around it to surround an industrial space or more industrial converted housing space, but might not be right for an elegant ranch house in the suburbs. Consider the pros and cons of your options and really weigh your options before deciding. If you don’t like the choice you make, you’ll be replacing your fence again soon—so make a choice you love.
Start Removal
The next step is to start removing your old fence. The first thing you’re going to have to do is to take down the boards of your fence—the horizontal pieces that connect the posts that go in the ground. You can do this by sawing the post off with an electric or mechanical saw as close to the posts as possible, or you can remove each board individually . If the nails are already coming out of your boards, just remove them with the back of your hammer, or if they are not coming out, hit your board with a mallet or hammer towards the post so the back of the nail begins to come out and remove them that way. Be careful on this step, and make sure you can get the boards out safely.
Take Care of the Material Waste
Along the way, you need to take care of the material waste from your fence removal properly. Taking care of it properly is part of being a good neighbor, a good citizen, and a good home improver. There are a few ways to handle material waste from a fence removal, but one of the most efficient and smartest choices is to get a trash hopper for your waste. Trash hoppers can increase safety by getting rid of the old fencing material. This will help you eliminate loose nails and boards that are dangerous for children and yourself. Not to mention, it will get the waste somewhere it can be dealt with professionally.
Determine if You Need New Posts
You may find that, depending on the state of your original fence and what style fencing you decide to install next, that you may not need new fence posts. If the fence you are transitioning to uses the same type of post, and your posts are still sturdy and don’t wobble in the ground if you push on them, you can keep them! This can save you lots of time and money, so be sure to double check before removing them—oftentimes posts will remain free of damage from termites or deterioration and be strong enough for reuse in your new fence.
Install New Posts if Necessary
If you do find that you need to replace your posts , this should be the very first thing you do. You will need to dig post holes if you don’t already have them, which can be quite the process. You should use a post hole digger for this task to make it easier. Then you have to place your posts, level them, and set them in concrete or pack them in with dirt and gravel. Make sure your posts stay in place and level while you set them, as they tend to move around if you are not careful.
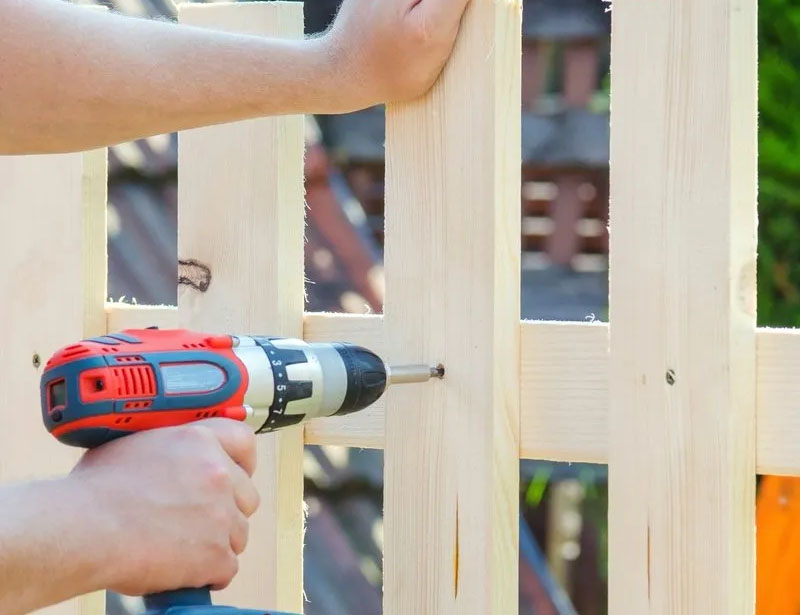
Attach Your Rails
The rails are horizontal pieces of the fence that connect the posts, and are what you will attach your boards to. There are a few ways to attach rails to your posts, some that involve cutting holes into your post that you place the rails through, and others where you nail them in. There is no wrong choice, just make sure that your rails are secure, your new fence can only be as sturdy as your rails.
Attach Your Boards
Last, you will attach your boards to your rails. Start at one corner and work your way around from there. Make sure you align the boards, and that they are level and even with one another. You can arrange your boards in a number of ways . For complete privacy, you can put them right up next to each other, blocking out everything beyond the fence. Or, if you want a more open look, you can place boards one board distance apart from each other for a more classic picket fence look. Whatever you want, you can make it happen, just plan the number of boards you will need accordingly.
Installing a fence yourself can give you a sense of accomplishment every time you walk outside your door. A beautiful fence elevates your home, giving it beauty, security, and the touch of a craftsman. Of course, if you’re worried about making it perfect, you can call in a professional fence company instead. Replacing an old fence doesn’t have to be difficult, so follow these steps and get started!